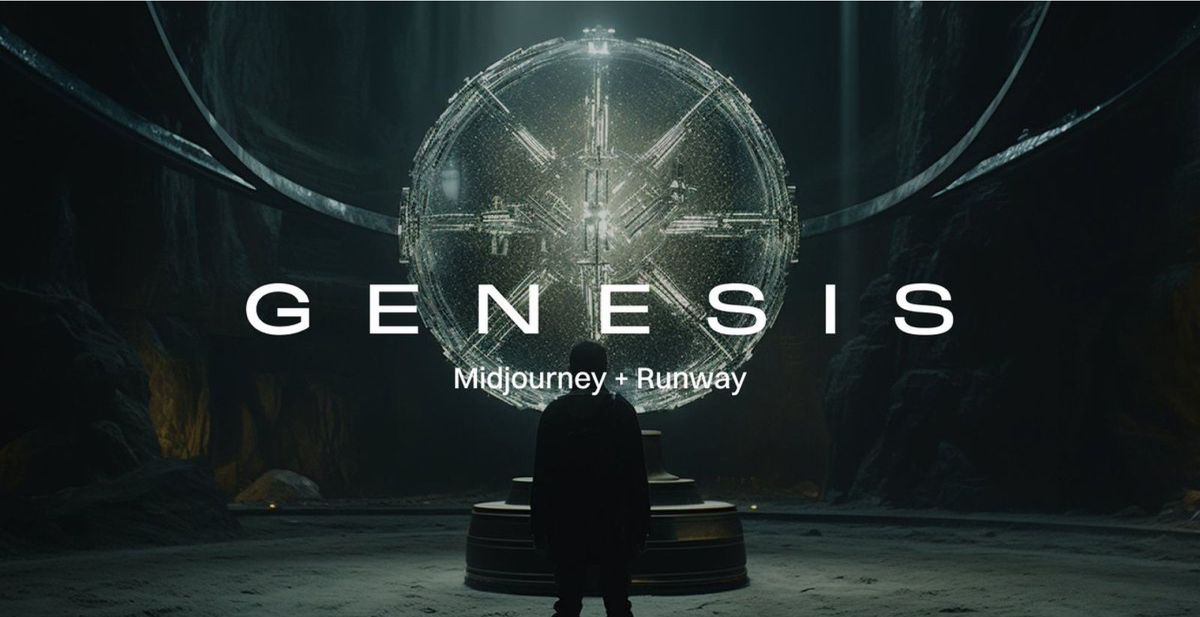
The stunning Genesis movie trailer created by Nicolas Neubert has captivated many with its high production value and imaginative visuals. Using Midjourney and Runway, Neubert was able to generate impressive AI-generated images and seamlessly edit them into a professional-looking trailer. As interest in how this was achieved continues to grow, Neubert has generously provided detailed guidance on Twitter for anyone looking to try their hand at a similar project.
Below we have republished Neubert's instructions with his permission. We encourage you to check out the original Twitter thread and support his work. As Neubert has shown, the possibilities of AI-generated video are only just beginning to be explored. With the right creative vision and technical skills, tools like Midjourney and Runway offer new frontiers for amateur filmmakers and digital artists.
Your support for this project has been outstanding! So many of you asked for a tutorial! As promised, here is a detailed post breaking down my process, how I utilised the tools, some details on the tool stack, and how to get started. - Nicolas Neubert
Before we get into the process - The idea of the dystopian theme came from a series of three cinematics I shared last week. I already had an excellent prompt foundation and decided to build a story on that!
The Soundtrack:
I can't stress enough how important it is to start with the music. It dramatically impacts how the viewer perceives the visuals and stimulates another sense that immerses us in the content. It, therefore, is a great starting point as it sets the mood of the trailer itself. Another critical point is the editing efforts. I love to beat-match the visuals to the music. Changing the music during a project can be super time intensive. Therefore, try to get your final soundtrack before starting to build the sequence of videos.
Process-wise, what I then do is listen to the track over and over again, imagining different scenes in my head. I literally went walking with my dog while listening to the track repeatedly. This exercise helps me organise the thoughts and storylines I want to cover in the trailer.
Once I'm sure about the soundtrack, I pull it into the video editor. I used CapCut as it's free for everyone. You can also do this in Adobe Premier or Final Cut Pro if you prefer a different software.
Crafting a World and Story:
If you ask me, world-building and storytelling are the number one skills you should learn as a creative. With technology that allows everyone to generate high-quality content, the magic will happen through those who know how to stitch pieces together.
For the storyline of the trailer, I wanted to ramp up the tension step by step. I defined 3 phases for the trailer:
- Setting the Scene
- Introducing the Threat
- Climaxing in the CTA
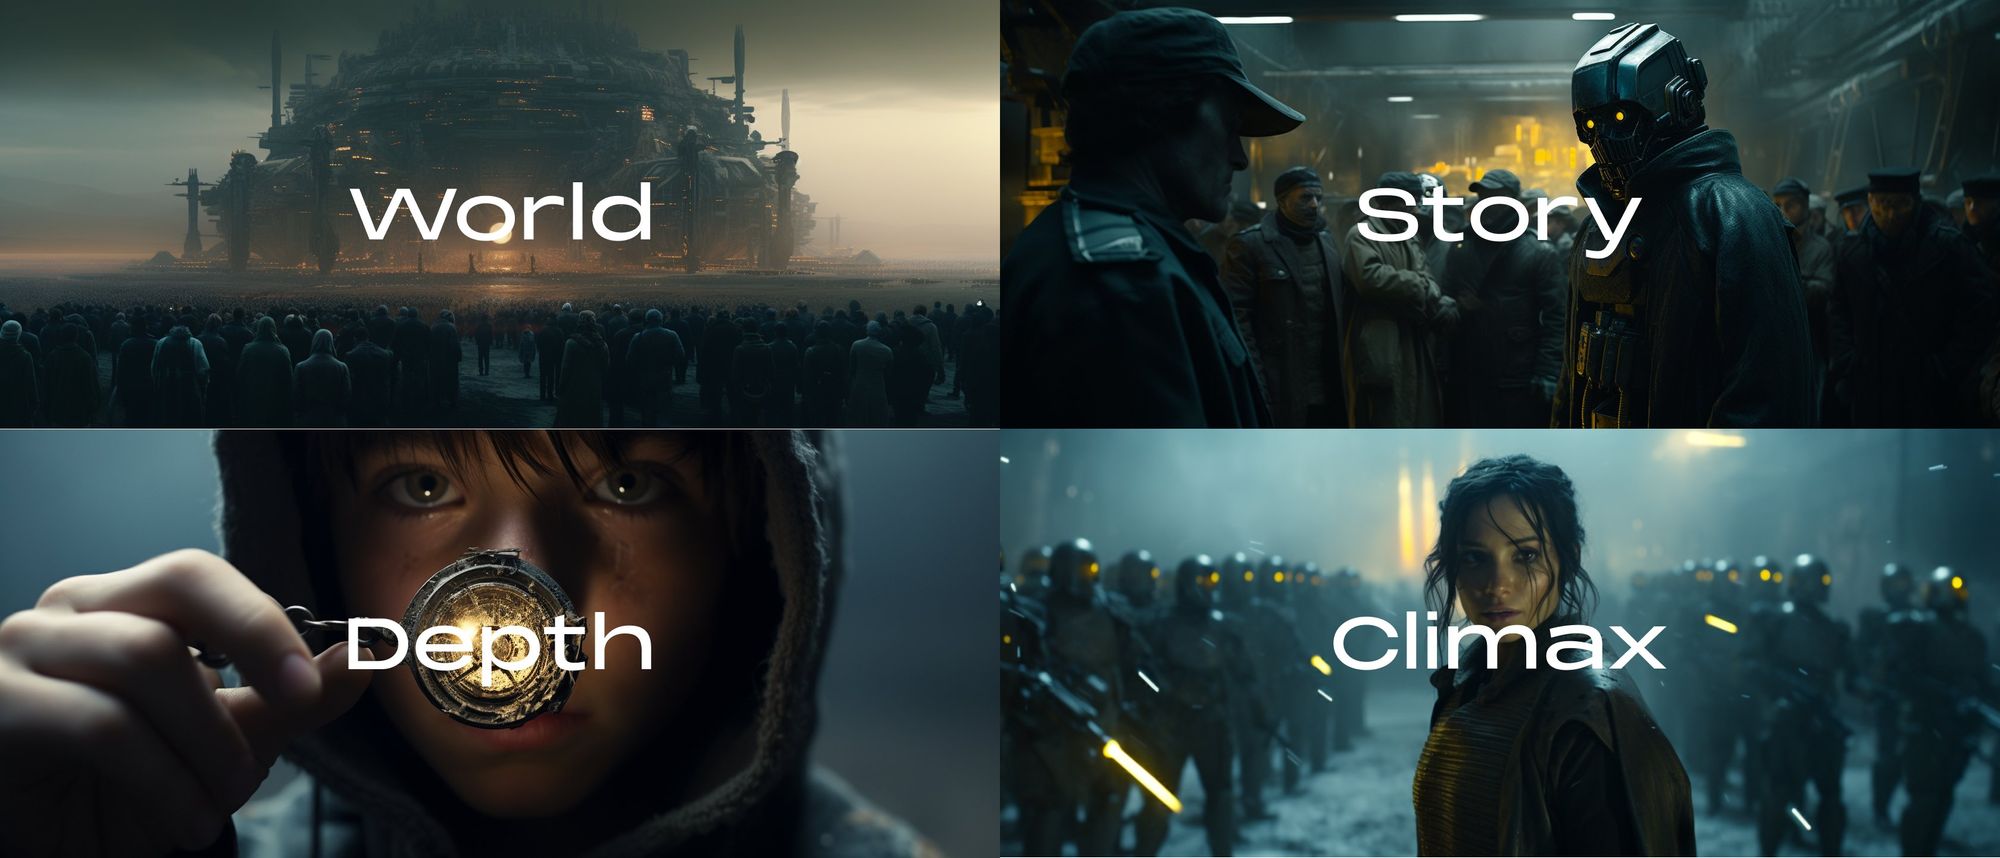
In the first step, I started drafting the first copytext for the trailer. The first draft already included "Sharing everything, living with the consequences, and then calling humanity up for action".
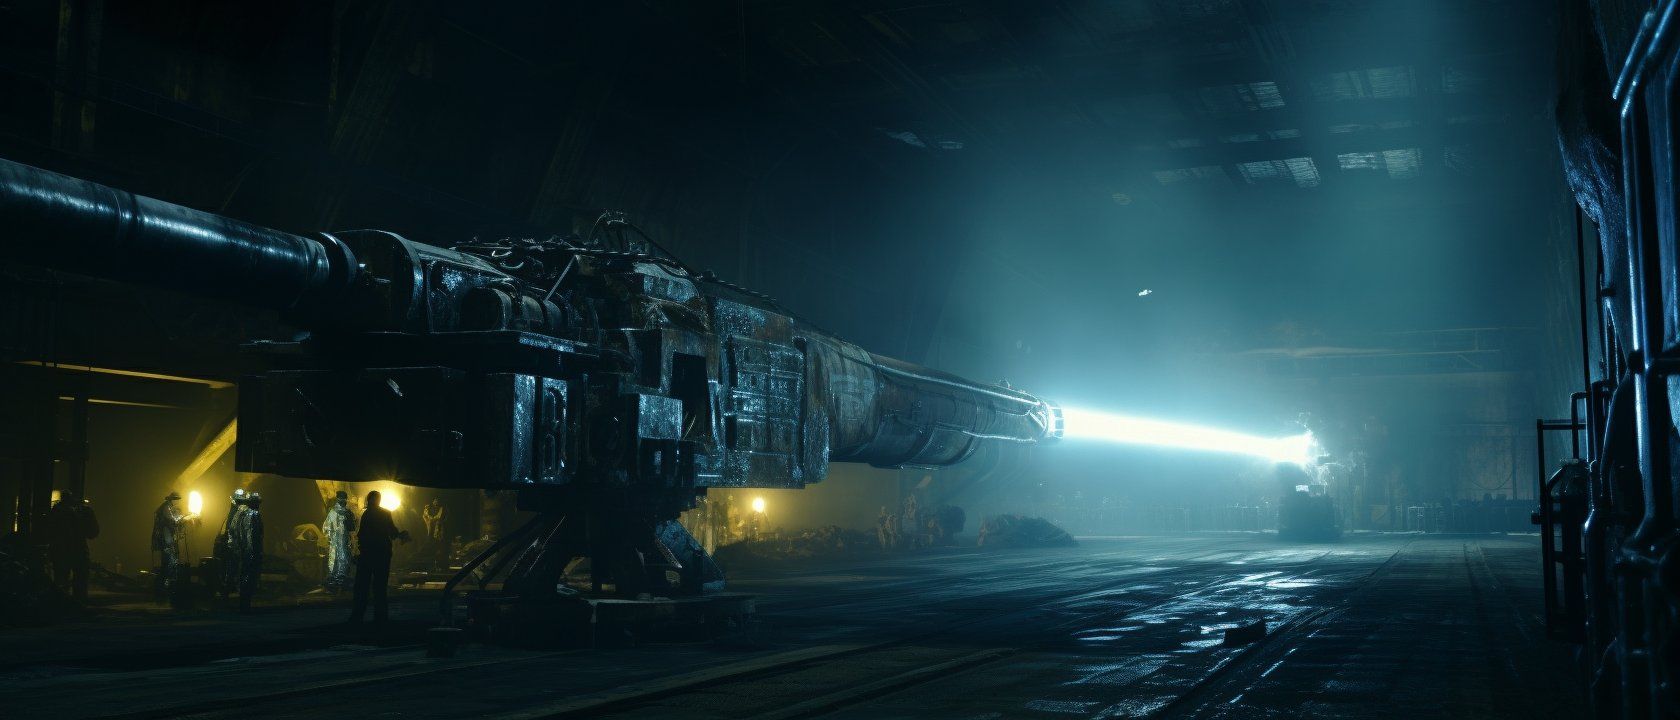
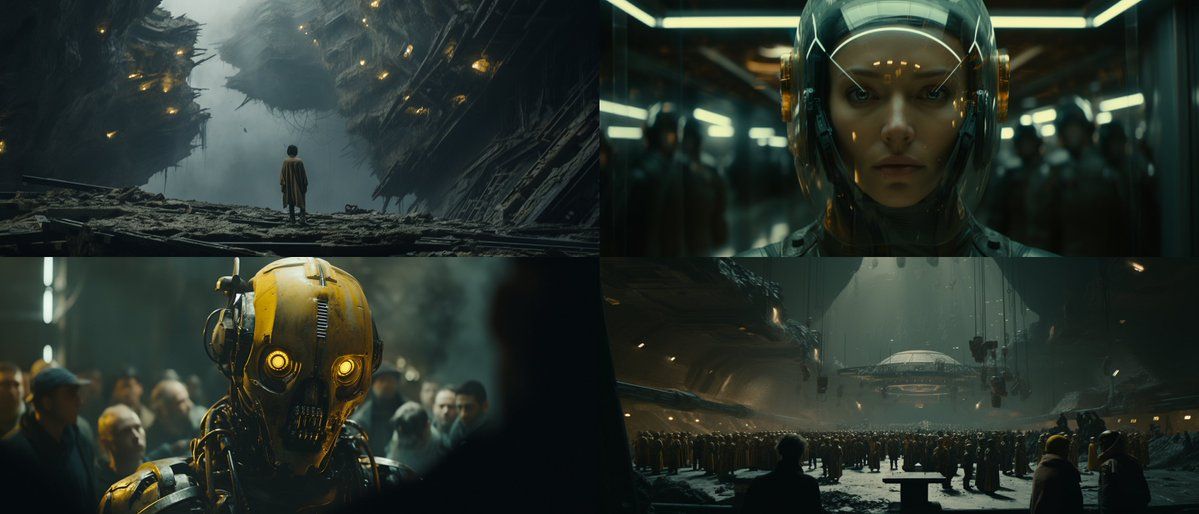
With the overall tone and voice defined, I started generating scenes around those topics. I rolled a ton of environment, militech, combat-themed humans and SciFi clips from which I could then source together a story.
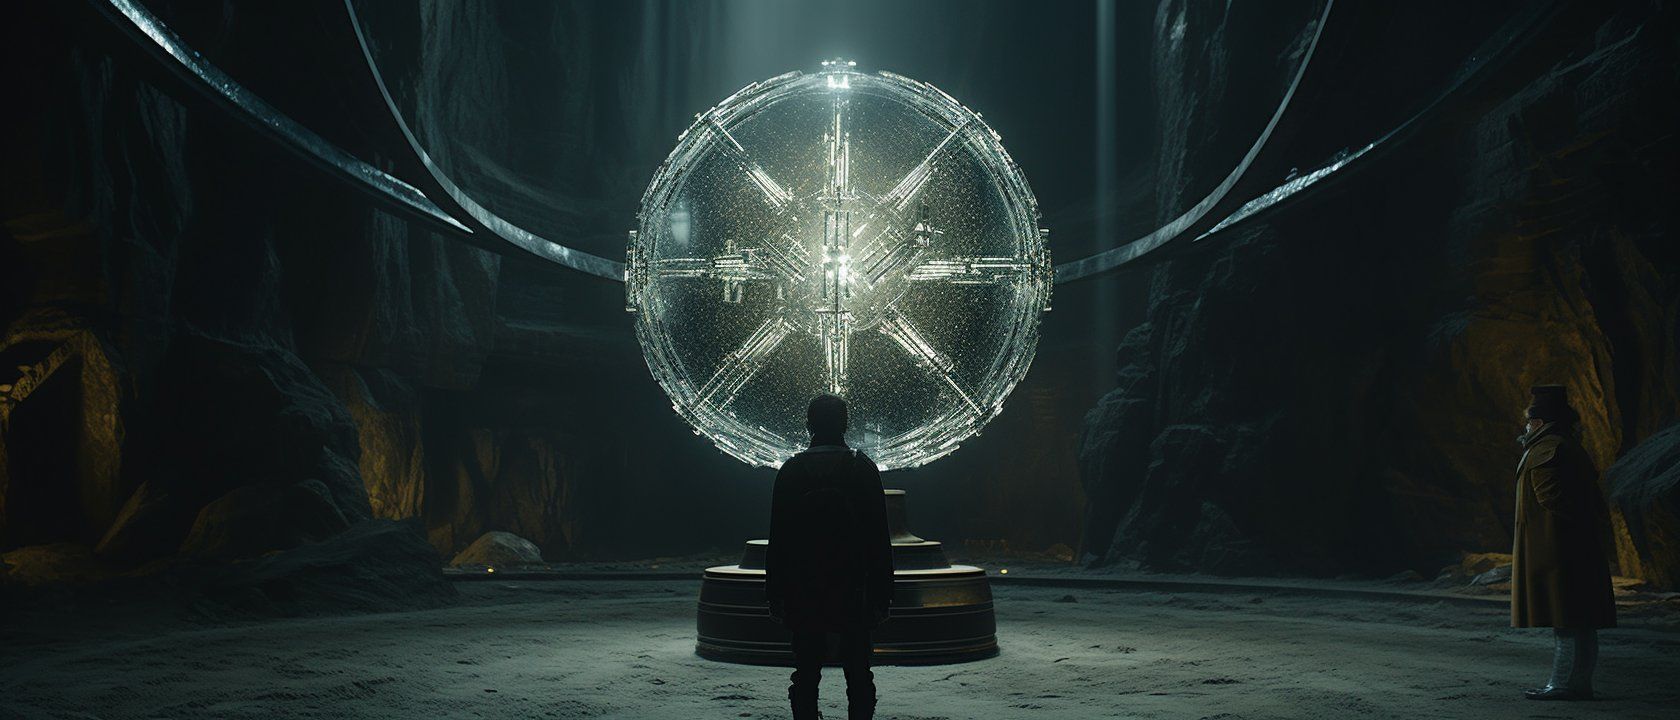
To add some depth, I included the three shots of the child with the glowing amulet, suggesting a deeper layer to the story.
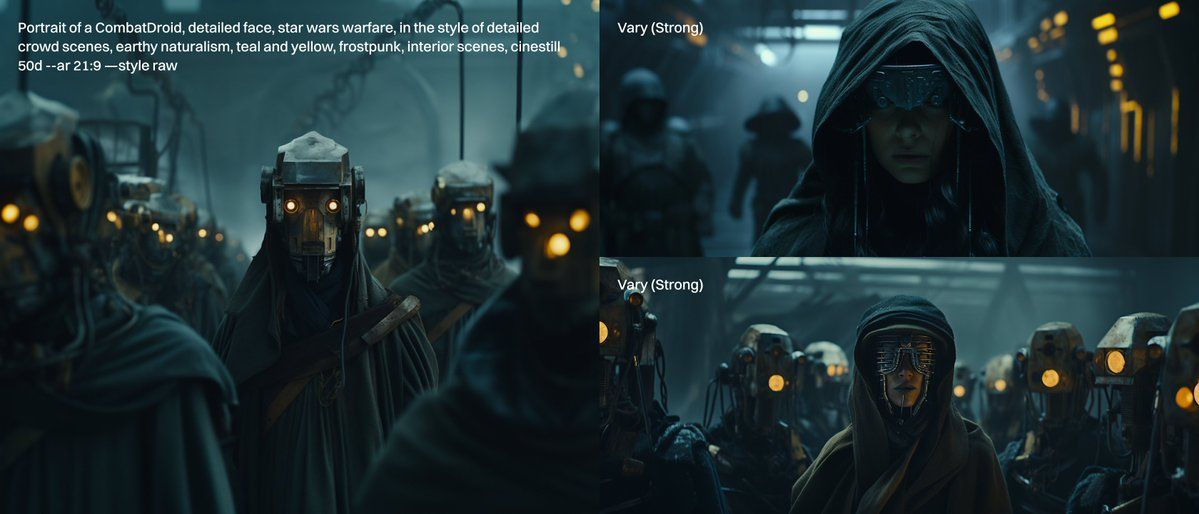
Generating Consistent Images in Midjourney:
Let's dive into the prompting! In this case, I already had a stable prompt foundation from previous posts. I optimised it to create a template that I would reuse for every shot of the trailer.
For every scene, I would fill the gap with the scene I was going for, ensuring that the other tokens would maximise the probability of keeping the theme, colours and lighting consistent. Here are some examples:
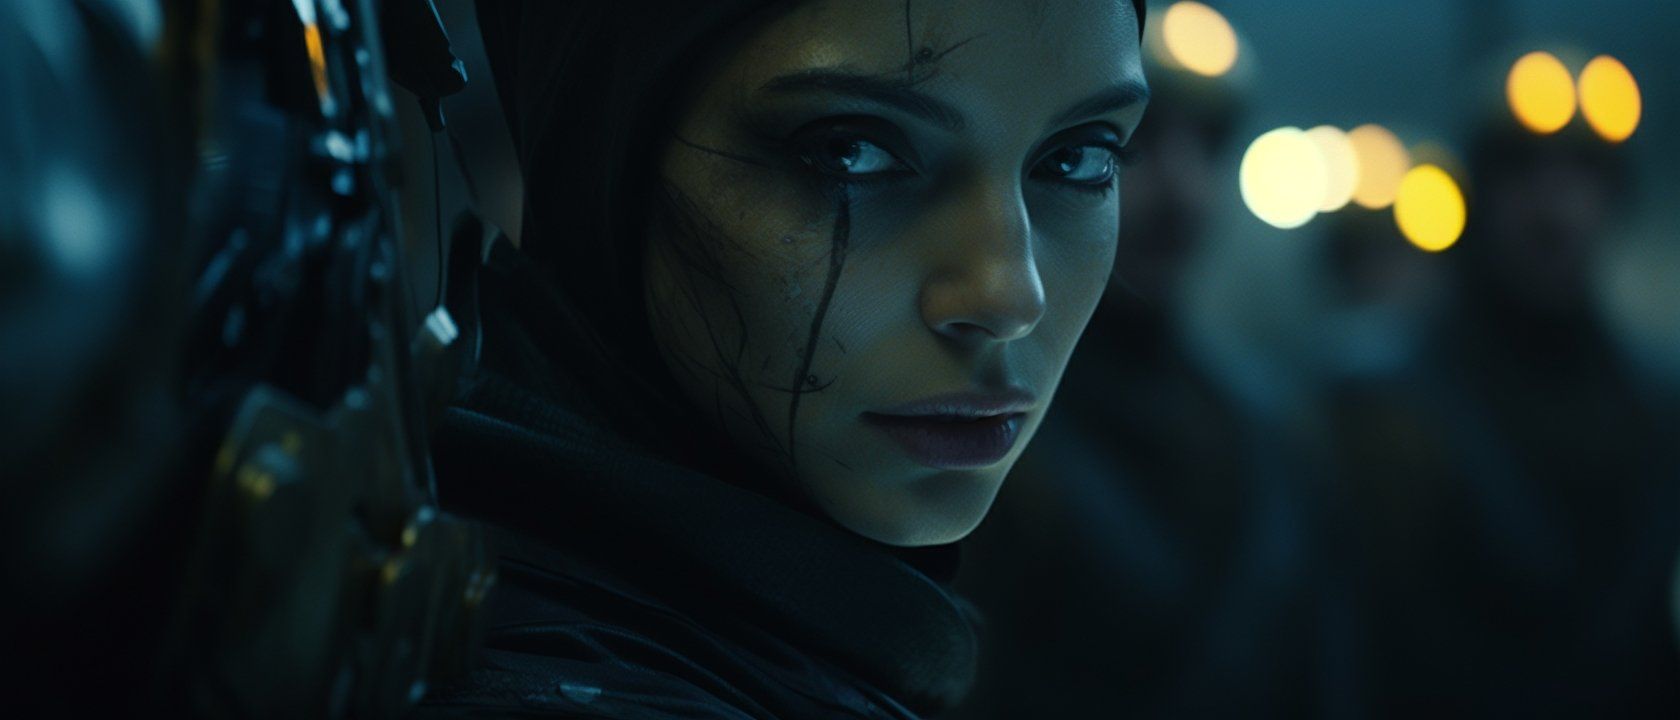
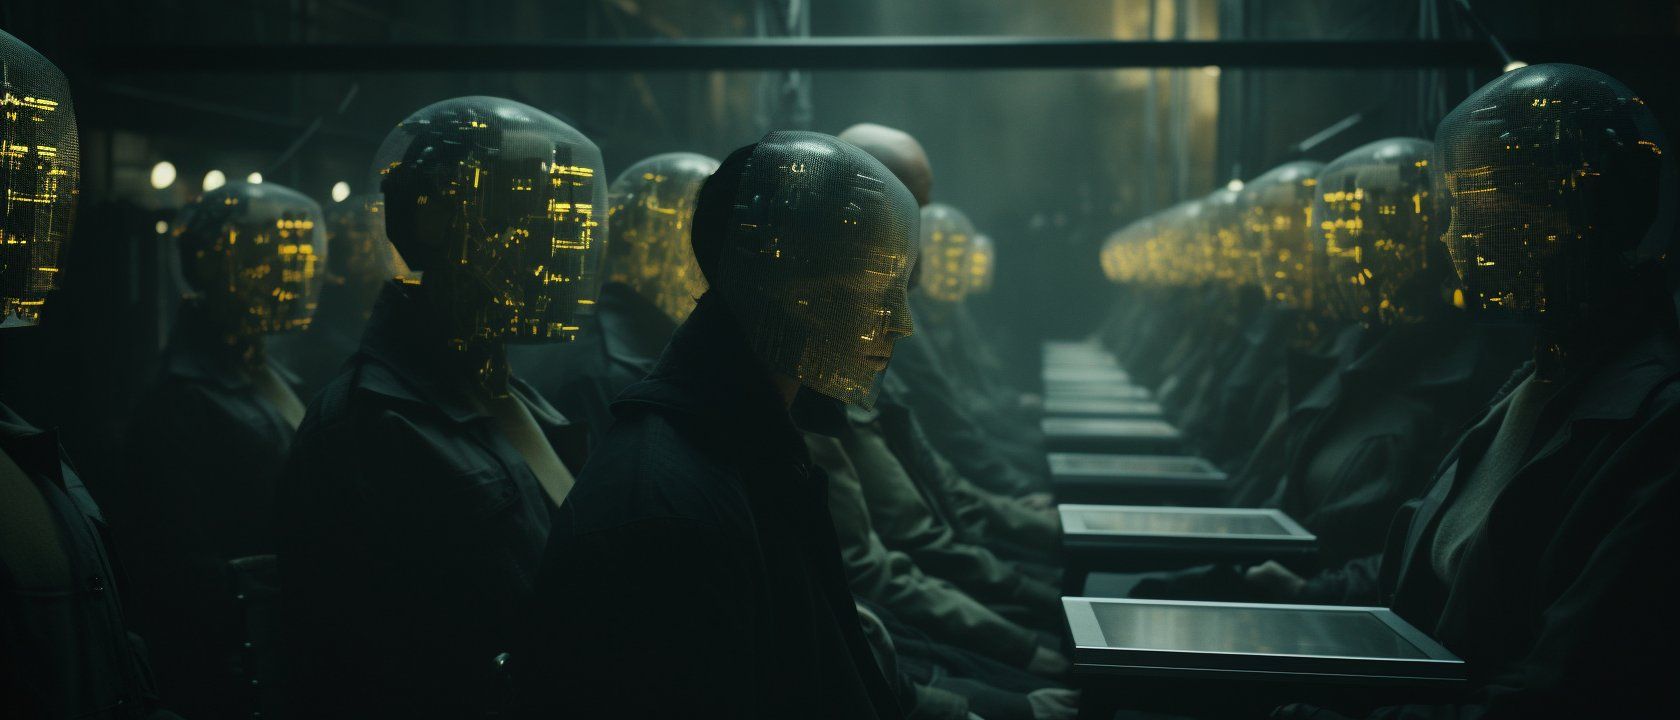
What also helped was making use of the "Strong Variations" feature. This made creating diverse scenes easy while keeping the previous variation's colour palette. A scene of a female warrior could then be transformed into a regular citizen, a cyber-hacker, or an in-combat setting without generating a new prompt.
Animating Images in Runway:
This process, surprisingly, was the "easiest". As for settings, I always tried to have "Upscaled" active. However, it is worth noting that the upscaled mode often struggled with faces. So for people shots, I usually used the standard quality.
I did not use text prompts combined with image prompts at all. I dragged and dropped an image and rerolled it until I got a result I liked. Only the last clip of the fire was done with a text prompt in Runway.
Post-Editing in CapCut:
While Midjourney and Runway are generating their outputs, I start by placing key scenes which I know will play a significant role. In the case of GENESIS, I knew the outside location shot would be the opening.
I then proceeded to plan the text. This is possible without any clips in the timeline as I orientate the text based on the music. I had the content written and positioned along the timeline in under an hour. This helped a lot with generating images because you have an additional fixture point to consider what scene are still missing.
From there on out, it's like a puzzle game. Generate clips -> Pull them into CapCut -> Position them on the timeline, and slowly piece together the story. I colour-match bundles of 2-3 clips to make them seem like one larger movie scene.
The only other real tip for CapCut is to think about beat-syncing your clips. I always try to connect a motion inside a clip and/or line up the following clip when there is a "BWAAA" in the music. Overall this will make your whole sequence feel more immersive.
While CapCut has features that assist you with this, I prefer to do it manually as I keep complete control. Sometimes I also wanted to skip a beat intentionally because the scene had to play out longer.
Adding Motion:
Probably the number one question I got is, "How did you get so much movement into your clips?". While there, of course, is the variable of AI-Randomness in Runway, there were two tricks I did to increase motion.
- Thinking about how AI would interpret the image as. To my knowledge, Runway takes a picture and then, based on its model, calculates which parts should be animated. I reverse-engineered that thought and tried to output images in Midjourney which suggest movement. This meant trying to get motion blur into the shots or capturing a still of a moving head or person.
- When you analyse the videos from the Runway, you will find that often, throughout the 4-second clip, the scene changes quite a bit. This is very handy, as in the trailer scenario, I only used a full 4-second clip two times. All the other clips were 0.5 - 2 seconds long. I took the clips and increased their speed by 1.5x - 3x. Because, as a viewer, you only see the clip for a very short time, you will perceive much more movement in the scene because it's essentially fast-forwarding that part. So instead of the robot turning towards the camera for 4 seconds, it now snaps over the moment it sees you.
Toolstack + Analytics:
For those interested, here are some numbers and information on the tool stack, effort and pricing.
The trailer took me:
- ~7 hours
- 316 prompts generated in Midjourney
- 128 images upscaled in Midjourney
- 310 videos generated in Runway
- 1 video was generated with text
- 44 videos were used in the trailer
Those numbers have a direct impact on the pricing of these tools. Let me explain:
Creativity requires space for exploration.
These are new tools, and we are still in the phase of learning how they work. Nothing is worse than hitting the limit of your credits while exploring. Fast hours in Midjourney are expensive, and credits in Runway are even more costly.
So for Runway, yes - I am using the $95/m plan, which gives me unlimited generations. This means I can try and experiment as much as I want without the fear of swiping the credit card.
For Midjourney, you have three options to get unlimited generations. I use the $30/m while there is also a $60/m and $120/m plan with Stealth Mode and more fast hours. I generate 90% of my images in relax mode and promise you don't need those more expensive plans.
The other tools I used were Pixabay for the Music (Free to use), and CapCut for editing the video (Free to use). You don't have to spend a single penny on music and editing if you don't want to!
To sum it up, my "Video Techstack" currently costs me $125/m, which I understand is a lot of money. As a creator, I decided to pay for "limitless creative freedom".
And that about covers everything! It's still a very new tool; this was the first project I've done in Runway. I'll keep exploring the tool and share all my insights here on 𝕏!